Azure provides an abundance of services tailored to ease the workload of IT professionals. One such remarkable service is Azure Functions, which allows you to run scripts or pieces of code in response to a variety of events. Today, we’ll explore how to leverage Azure Functions to run a PowerShell script that automates the restart of Azure AVDs based on a tag.
Understanding the Script
Before diving into Azure Functions, let’s understand the provided PowerShell script:
# Input bindings are passed in via param block.
param($Timer)# Add all your Azure Subscription Ids below
$subscriptionids = @”
[
“xxxxxxxx-xxxx-xxxx-xxxx-xxxxxxxxxxxx”
]
“@ | ConvertFrom-Json# Get GMT Standard Time zone
$date = [System.TimeZoneInfo]::ConvertTimeBySystemTimeZoneId([DateTime]::Now,”GMT Standard Time”)
$now = $dateforeach ($subscriptionid in $subscriptionids) {
# Selecting Azure Sub
Set-AzContext -SubscriptionId $SubscriptionID | Out-Null$CurrentSub = (Get-AzContext).Subscription.Id
If ($CurrentSub -ne $SubscriptionID) {
Throw “Could not switch to SubscriptionID: $SubscriptionID”
}$vms = Get-AzVM -Status | Where-Object {($_.Tags.RestartTime -ne $null)}
$now = $dateforeach ($vm in $vms) {
if (($vm.PowerState -eq ‘VM running’) -and ($now -gt $(get-date $($vm.tags.RestartTime))) ) {
Restart-AzVM -Name $vm.Name -ResourceGroupName $vm.ResourceGroupName -NoWait
Write-Warning “Restarting VM – $($vm.Name)”
}
}
}
Highlights:
-
Inputs & Subscription IDs: The script starts by accepting a timer object as a parameter and a predefined JSON of Azure Subscription IDs.
-
Time Zone Conversion: The current time is fetched and converted to the GMT standard time zone.
-
Subscription Loop: For each subscription ID, the script switches the context, fetches all AVDs with a
RestartTimetag, and checks specific conditions before initiating a restart.
Setting Up Azure Function
Now, let’s walk through the steps to run this script through Azure Function:
-
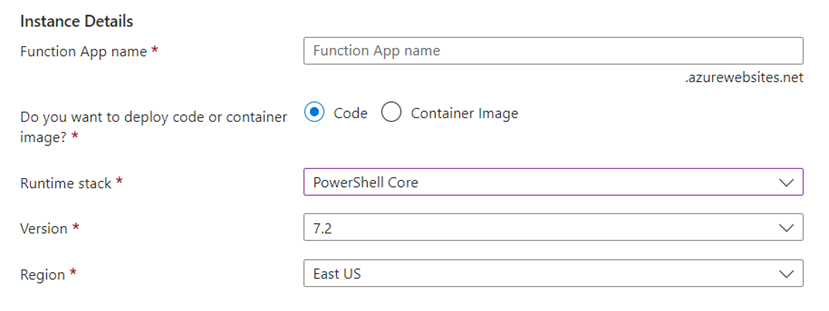
Create Azure Function App:
- Navigate to Azure Portal and create a new Function App.
- Assign it to a resource group, provide a unique name, and select “PowerShell Core” as the runtime stack.
-
Develop the Function:
- Within the Function App, tap on “+ New function”.
- Opt for the “Timer Trigger” template, given our requirement to run on a schedule.
- Assign your function a name and use the cron pattern
0 30 2 * * 1-6to schedule it at 2:30 AM from Monday to Saturday (That’s my scenario). - Insert the modified PowerShell script into the function editor.
-
Module Configuration:
- Ensure that the
Azmodule, necessary for Azure-specific commands likeSet-AzContext, is installed and accessible to the function. You can oversee these under the “Development Tools” section.
- Ensure that the
-
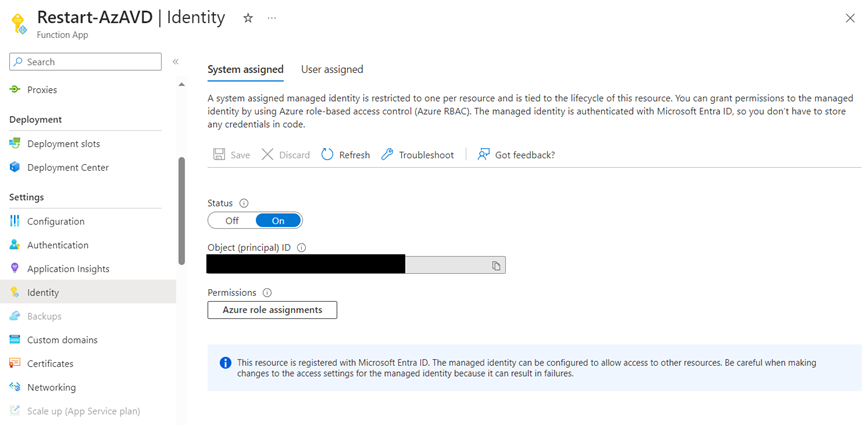
Configuring Managed Identity:
- Assign a Managed Identity to the Function App to enable the script’s interactions with the AVDs.
- Bestow this identity with required permissions, such as the Virtual Machine Contributor role, on the designated AVDs or subscriptions.
-
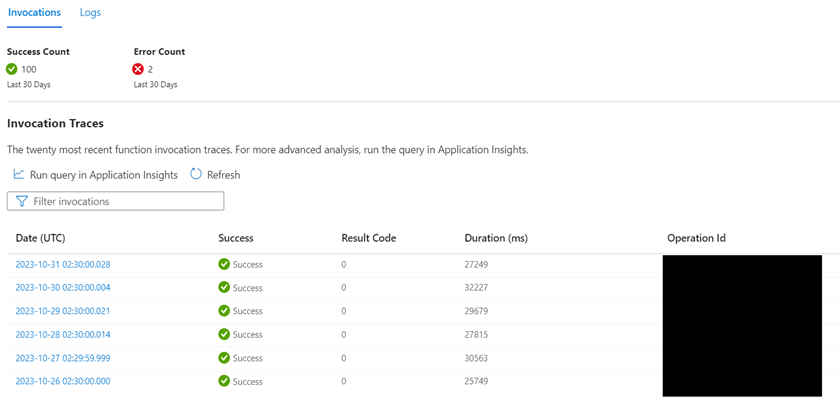
Testing & Monitoring:
- Click on “Run” within the function editor to initiate a test run.
- For logs and potential troubleshooting, refer to the “Monitor” tab.
Conclusion
Pairing Azure Functions with PowerShell creates a potent toolset for Azure environment automation. Our discussed script showcases the simplicity of automating AVD management tasks, negating the need for manual intervention. Dive into the world of automation with Azure Functions!


